 |
 |
||
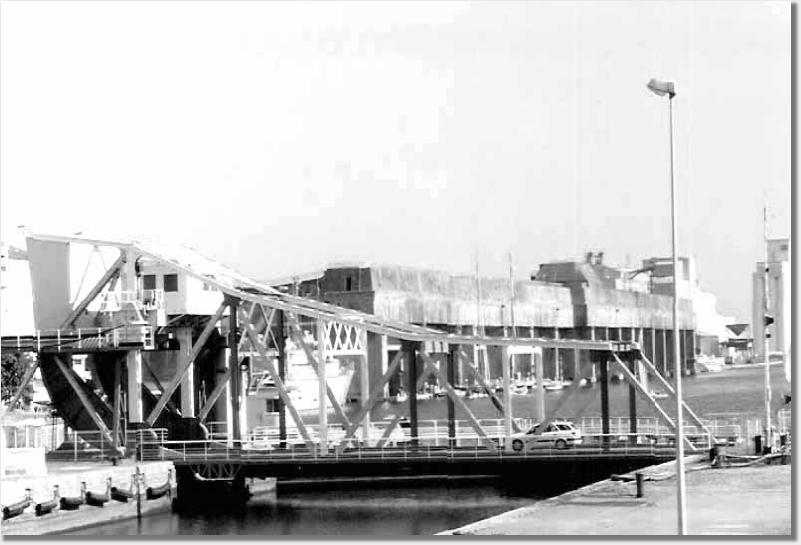
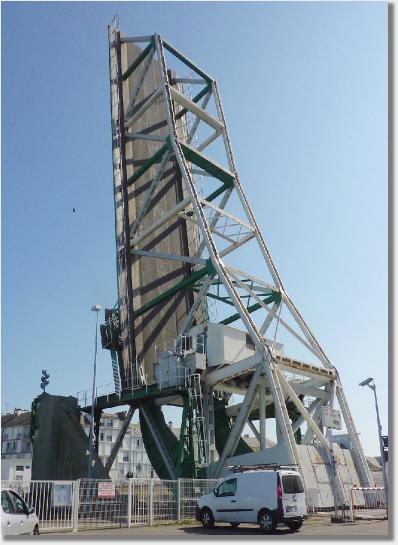
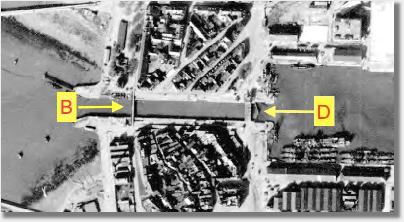
The north-south alignment of the two great docking basins in Saint-Nazaire acts as a moat separating the dock area - where the Chariot demolitions took place - from the main body of the town and the countryside beyond, where lay the prospect of escape and evasion. Of the three main connecting bridges two, shown on Colonel Newman's plan as Bridge B and Bridge D, straddled the south entrance lock (right) connecting the Avant Port to the Bassin de Saint-Nazaire.The larger of the two, and the closest to the survivors' line of escape, was Bridge D, a lifting bridge whose mechanism lay on the west, or German side of the lock. Although the port's defenders blocked the western end of the bridge, it seems not to have occured to them that by raising it (above right) they would effectively seal Newman's men in an area from which escape would be all but impossible. As it was the German block was quickly carried by the unstoppable tide of men rushing the bridge from the east.
Images are subject to copyright and must not be reproduced in any format without the consent of the relevant copyright holder.
The St. Nazaire Society

A bridge - but not too far